
Starting out in 3D printing is like setting off on a big adventure — it’s full of excitement but also comes with a bit of a learning curve. You’ll find a bunch of tools and accessories that promise to make your printing smoother, your finishes cleaner, and your life easier.
But, with so many options, it can get pretty overwhelming. Do you really need that high-tech spatula? Will a digital caliper make a huge difference? It’s all about figuring out which tools will be your best friends and which ones might not be worth the fuss.
Let’s break it down together, exploring the good and the not-so-good sides of the most popular 3D printing gadgets out there, to help you build your perfect toolkit without the headache.
1. 3D Printing Filament Dryer
Moisture can significantly impact the quality of your 3D prints. A filament dryer helps in keeping your filaments dry, reducing the risk of failed prints due to moisture-laden filament. This is particularly important for materials that are highly hygroscopic, such as Nylon and PVA.
2. Bed Adhesion Solutions
To prevent warping and ensure the first layer sticks well to the build plate, bed adhesion solutions like glue sticks, hairspray, or dedicated 3D printing adhesives can be crucial, especially when printing with materials prone to warping.
3. Digital Caliper
Precision is key in 3D printing, and a digital caliper is an essential tool for measuring the dimensions of your prints with high accuracy. It can be used to measure the thickness, diameter, and depth of parts, ensuring that your prints match the desired dimensions perfectly.
4. Flexible Build Plates
These are designed to make print removal easier. After printing, you can remove the flexible plate from the build platform and bend it to pop off the prints without needing tools or excessive force.
5. Filtration Systems
For those concerned about ultrafine particles (UFPs) and volatile organic compounds (VOCs) emitted during printing, especially with materials like ABS, a filtration system or an air purifier can help improve air quality in your printing area.
6. Filament Storage Solutions
Proper filament storage is key to maintaining filament quality. Solutions include vacuum-sealed bags with desiccants, airtight storage containers, or even filament storage boxes that control humidity, keeping your filament in optimal condition.
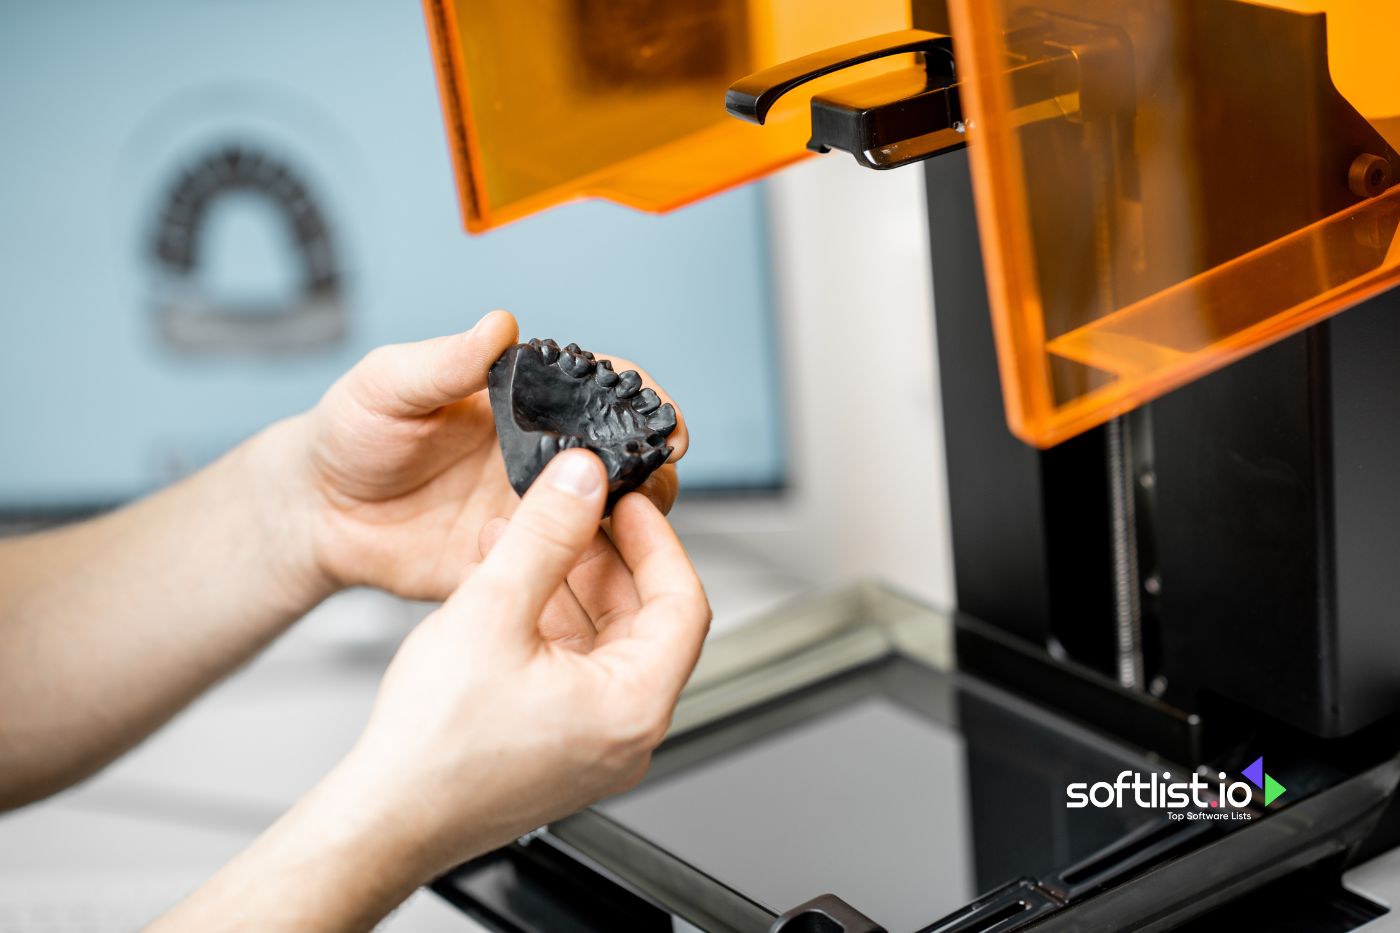
7. 3D Scanners
For those interested in replicating real-world objects or integrating them into their 3D models, 3D scanners can digitize physical objects into 3D models that can be edited, scaled, and printed.
Source: Canva Pro
8. 3D Print Removal Tools
Removing a print from the build plate can be challenging, especially if the print has a large surface area in contact with the bed. A set of 3D print removal tools, including a spatula or a palette knife, can make this task much easier and reduce the risk of damaging the print or the build plate.
9. Finishing Tools
To improve the appearance of your prints, a variety of finishing tools can be used. These might include sanding papers, needle files, and deburring tools for smoothing and refining the surfaces of your prints. For models that require assembly or modification, a precision knife and a set of screwdrivers can also be invaluable.
10. Nozzle Cleaning Kit
Over time, 3D printer nozzles can become clogged with leftover filament, leading to poor print quality or extrusion issues. A nozzle cleaning kit, often including a set of fine needles or drills, allows you to clean out these blockages and maintain the performance of your printer.
11. Enclosure
For printers that do not come with a built-in enclosure, an aftermarket enclosure can improve print quality by maintaining a consistent temperature around the print, reducing warping and splitting with materials like ABS. It also helps in reducing noise and containing any fumes from the printing process.
12. SLA Resin Washing and Curing Station
For those using SLA/DLP resin printers, a washing and curing station streamlines the post-processing of resin prints. These stations use a combination of solvent baths and UV light to clean and fully cure resin models, resulting in stronger and more durable parts.
13. Post-Processing Kits
For smoothing and finishing your prints, especially for ABS prints, an acetone vapor bath can create a smooth, glossy finish. There are also kits designed for coloring, painting, or sealing your prints to enhance their appearance and durability.
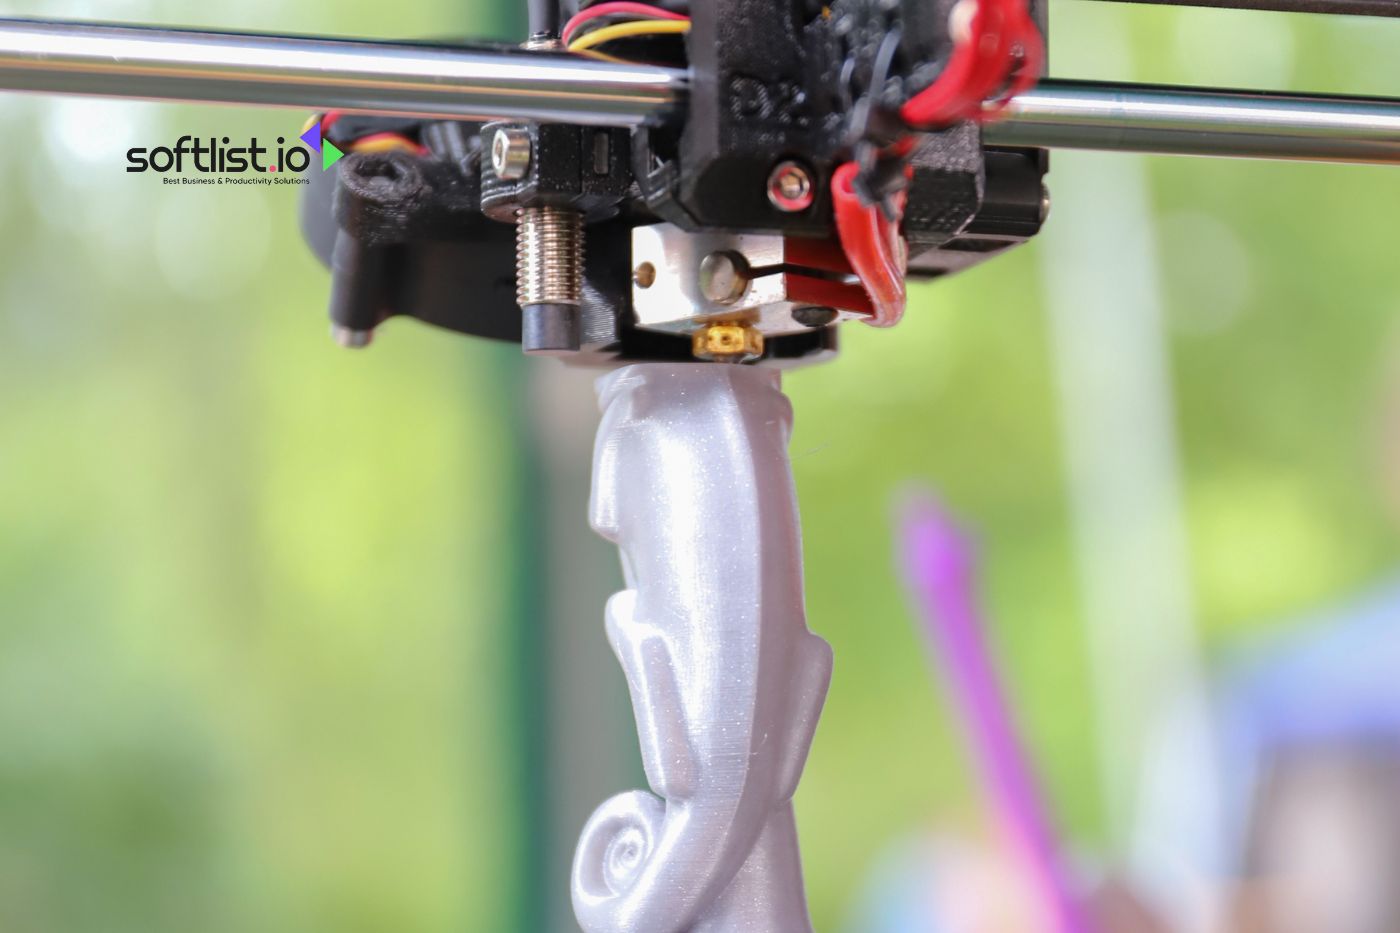
14. Upgraded Hotends and Extruders
Upgrading your printer’s hot-end or extruder can improve its reliability, allow for printing with a wider range of materials, and enhance print quality. Some upgrades are designed for high-temperature materials or to reduce filament slipping and jamming.
15. Temperature and Humidity Monitor
Keeping track of the temperature and humidity in your printing environment can help you make adjustments to ensure optimal printing conditions, especially for materials that are sensitive to environmental factors.
16. Anti-Vibration Pads or Stands
Reducing vibration can lead to higher-quality prints by minimizing layer shifting and other issues caused by movements during printing. Anti-vibration pads or stands can also reduce the noise level of your 3D printer.
Pros and Cons of Using Essential 3D Printer Accessories and Tools
Source: Canva Pro
So, we’ve discussed all the must-have tools and accessories that can make 3D printing even more awesome. But, just like anything else, using these tools has ups and downs. Let’s chat about what’s great and what’s not so great about diving into the world of 3D printing tools.
Understanding these can help users make informed decisions about integrating these tools into their workflow.
Pros
1. Improved Print Quality
Tools like digital calipers, sandpaper, and deburring tools allow for precise measurements and post-processing, leading to significantly improved print quality with smoother finishes and more accurate dimensions.
2. Increased Success Rates
Bed adhesion tools (e.g., glue sticks, adhesion sheets) and environmental controls (e.g., desiccant for filament storage) minimize common printing issues like warping and clogging, thus increasing the overall success rate of prints.
3. Enhanced Printer Maintenance
Regular use of maintenance tools (e.g., lubricants, cleaning filament) helps keep the 3D printer in optimal condition, prolonging its lifespan and ensuring consistent print quality over time.
4. Greater Material Versatility
With the right tools, users can work with a broader range of materials, each offering different properties and applications. This versatility opens up a world of creative and functional possibilities.
5. Efficiency and Time Saving
Tools that aid in adhesion, removal, and post-processing significantly reduce the time spent on preparing and finishing prints. This efficiency is crucial for users who produce high volumes of prints or work under tight deadlines.
Cons
1. Initial Cost
Purchasing a comprehensive set of 3D printing tools and accessories can represent a significant initial investment, especially for hobbyists or those just starting out.
2. Learning Curve
Each tool and accessory comes with its own set of best practices and techniques. Users must invest time in learning how to effectively use these tools, which can be daunting for beginners.
3. Maintenance Requirements
Additional tools mean additional maintenance. Keeping tools in good working condition requires regular care and sometimes even repair, adding to the user’s responsibilities.
4. Space and Storage
Storing a wide array of tools and accessories requires space, which can be a constraint for users with limited work areas. Proper organization is key to managing this issue.
5. Over-reliance
There’s a risk of becoming overly reliant on tools for achieving good print quality, potentially neglecting the development of fundamental 3D printing skills and knowledge.
Source: Canva Pro
Final Words
The truth is, some tools are going to be super helpful, making your 3D printing smoother and more fun, while others might not be as essential as they seem. It’s all about finding the perfect balance for what you want to do. Whether it’s getting those prints just right with a digital caliper or making sure they stick to the bed with a simple glue stick, each tool has its place.
So, as you build your toolkit, think about what makes sense for you and your projects. And hey, if you’re curious to learn more or looking for tips on how to enhance your 3D printing experience, our website has a bunch of great printing services articles. They’re packed with info and advice to help you get even more out of your 3D printing adventure. Why not give them a read?
Frequently Asked Questions
How often should I lubricate my 3D printer’s moving parts?
It varies, but a general rule is to lubricate the moving parts every few months or after about 200 hours of printing, whichever comes first. Always check your printer’s manual for specific recommendations.
How do I ensure flawless 3D print bed adhesion?
Achieving a flawless 3D print often starts with proper bed adhesion. Using a glue stick or hair spray to cover your print bed can significantly reduce the chances that your 3d print has stuck too firmly or, conversely, doesn’t stick enough. These methods are widely used for their effectiveness in improving plate adhesion.
What’s the best way to remove a print that’s stuck to the bed?
If you find that your 3D print has stuck to the printing surface, using a spatula or palette knife can help. Gently slide it under the print and carefully lift it to avoid damaging your printed parts. For best results, look for tools designed specifically for this purpose to minimize the risk of scratching your bed.
How can I keep my 3D printer and prints clean and dust-free?
Regular maintenance is key to keeping your 3D printer in top condition. A good quality pair of pliers with a rubberized grip can be helpful for removing support material, while a soft brush or compressed air can clean away dust without scratching your machine or prints.
What should I use to cover my print bed for the best adhesion?
Apart from hair spray, blue painter’s tape or adhesive strips to cover your print bed are effective. Masking tape is one of the go-to choices for many because it’s easy to apply and remove, offering a good surface for your prints to adhere to without the mess.


